See Our Production in Action
Why Choose Dingtai?
Professional Manufacturing
With over 20 years of dedicated experience, we master the art of producing durable undercarriage parts.
Strict Quality Control
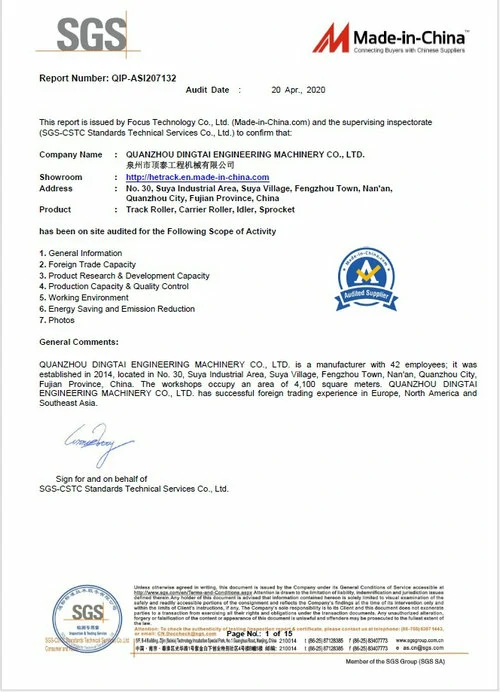
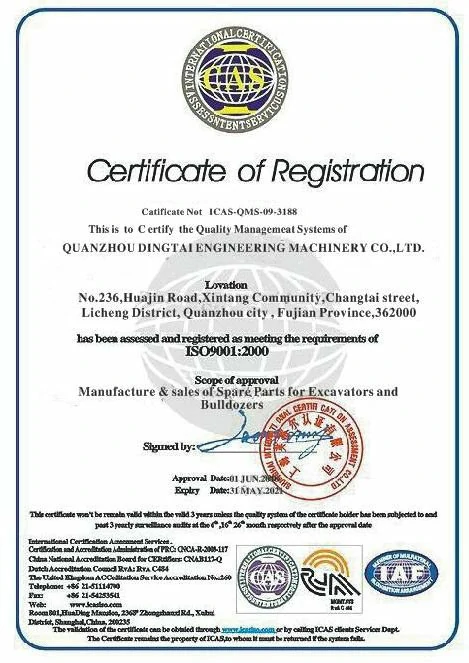
Our ISO9001 & SGS certified facility ensures every part undergoes 100% inspection for maximum reliability.
Expert Technical Team
Our team of 20+ engineers offers professional support, from technical inquiries to custom design solutions.
Proven OEM Partner
We are the trusted supplier for numerous world-renowned machinery brands, delivering quality you can count on.
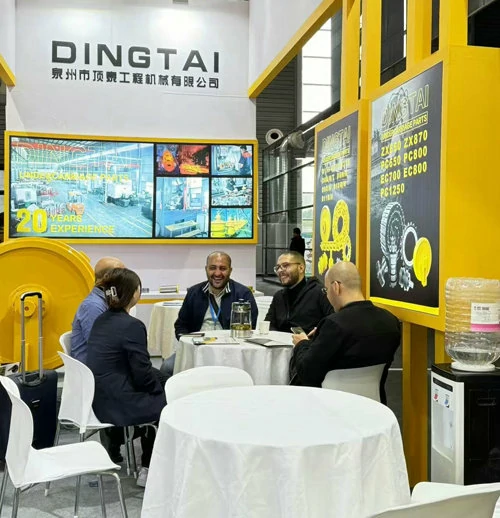
About Quanzhou Dingtai
Quanzhou Dingtai Engineering Machinery Co., Ltd. is situated in Quanzhou City, Fujian Province, China. Our company currently employs over 100 staff members, including more than 20 technicians.
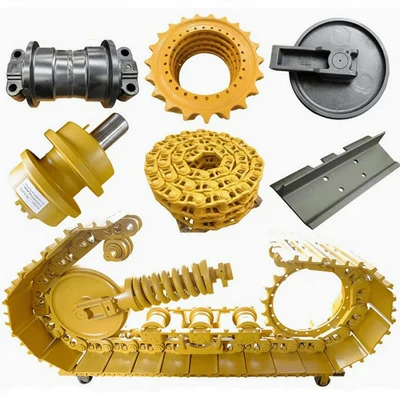
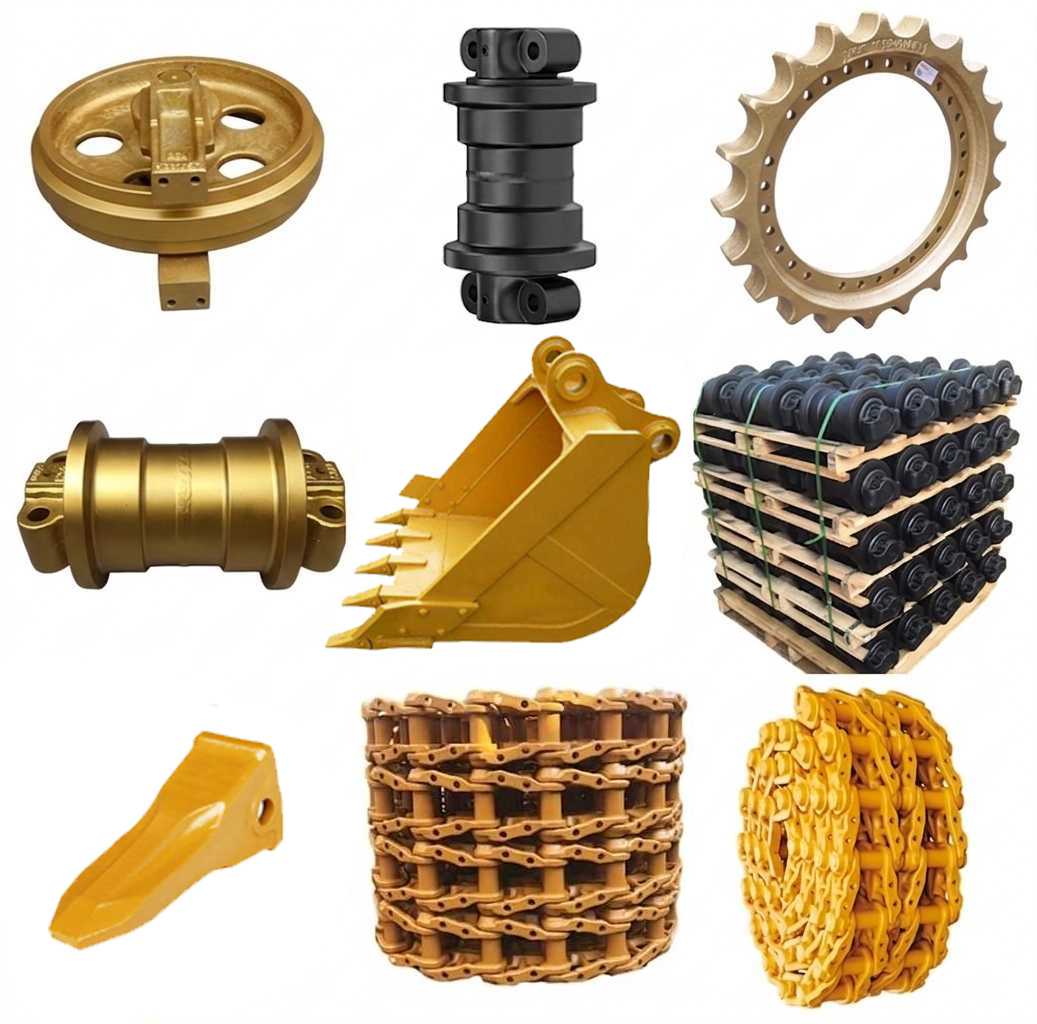
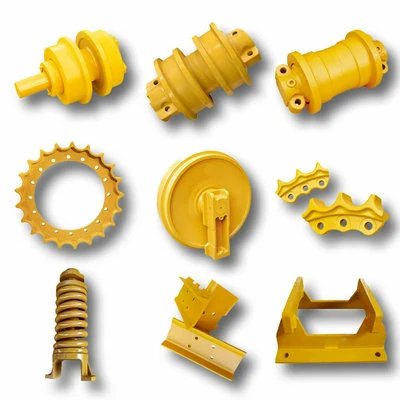
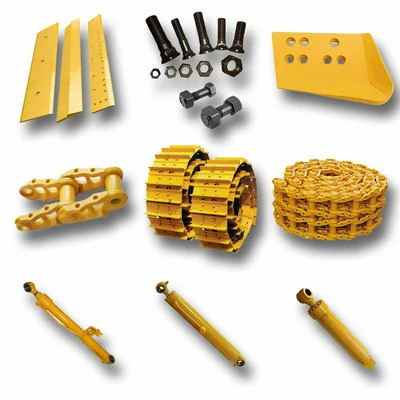
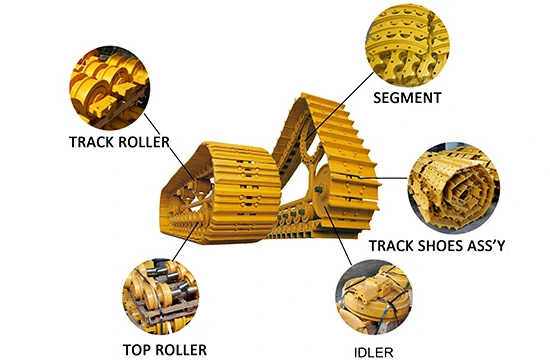
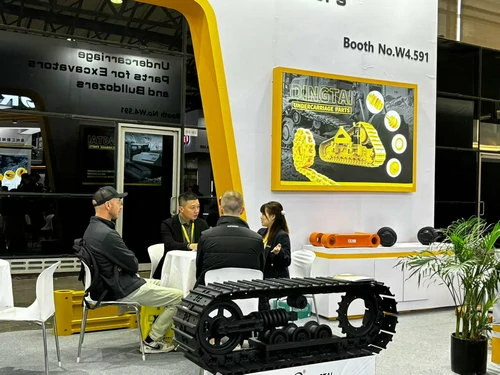
We are dedicated to providing high-quality undercarriage spare parts for bulldozers and excavators, such as track links, track rollers, carrier rollers, sprockets, segments, idlers, and more. We have obtained ISO9001 and SGS certifications, and all parts undergo 100% inspection before delivery. We also offer OEM services for numerous renowned brands both domestically and internationally.

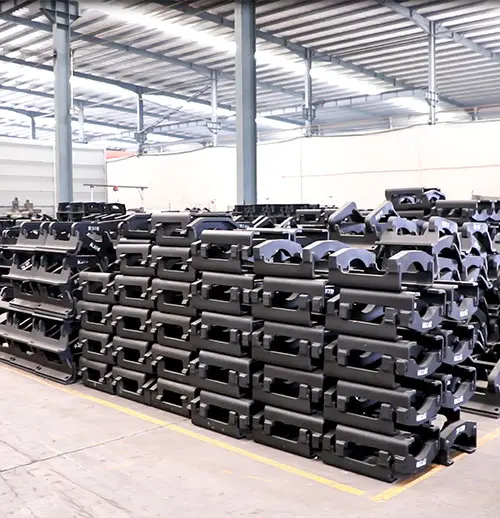
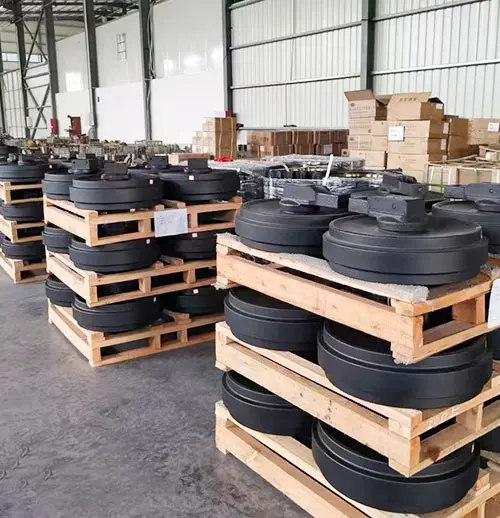
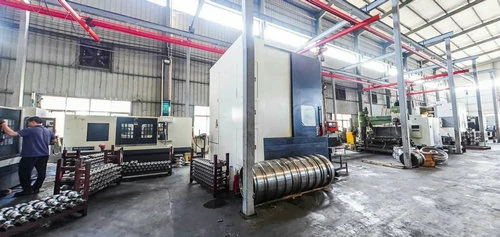
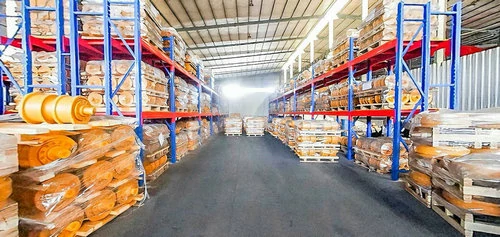
A Glimpse of Our Factory
State-of-the-art facilities where quality is forged. We have 100+ skilled employees ensuring production excellence.

"As an OEM partner, we demand the highest standards. DingTai has consistently delivered top-tier track chain assemblies that integrate seamlessly into our production line. Their commitment to quality and on-time delivery is unparalleled."
"We've been distributing DingTai's undercarriage parts for years. Our customers, who own brands like Caterpillar and Komatsu, are consistently impressed with the durability of their rollers and idlers. They are a reliable alternative to original parts."